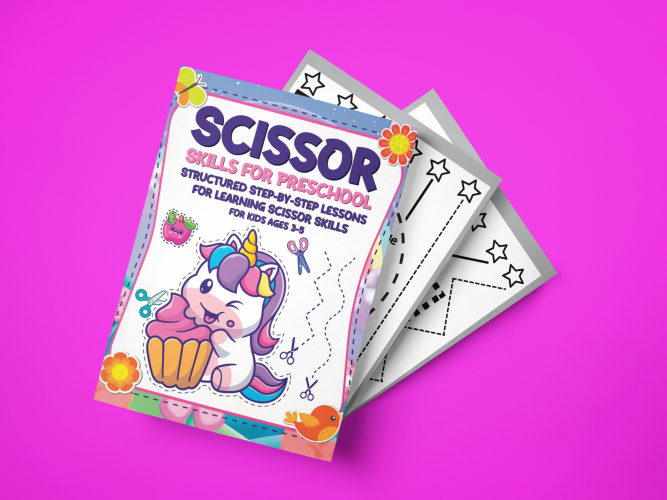
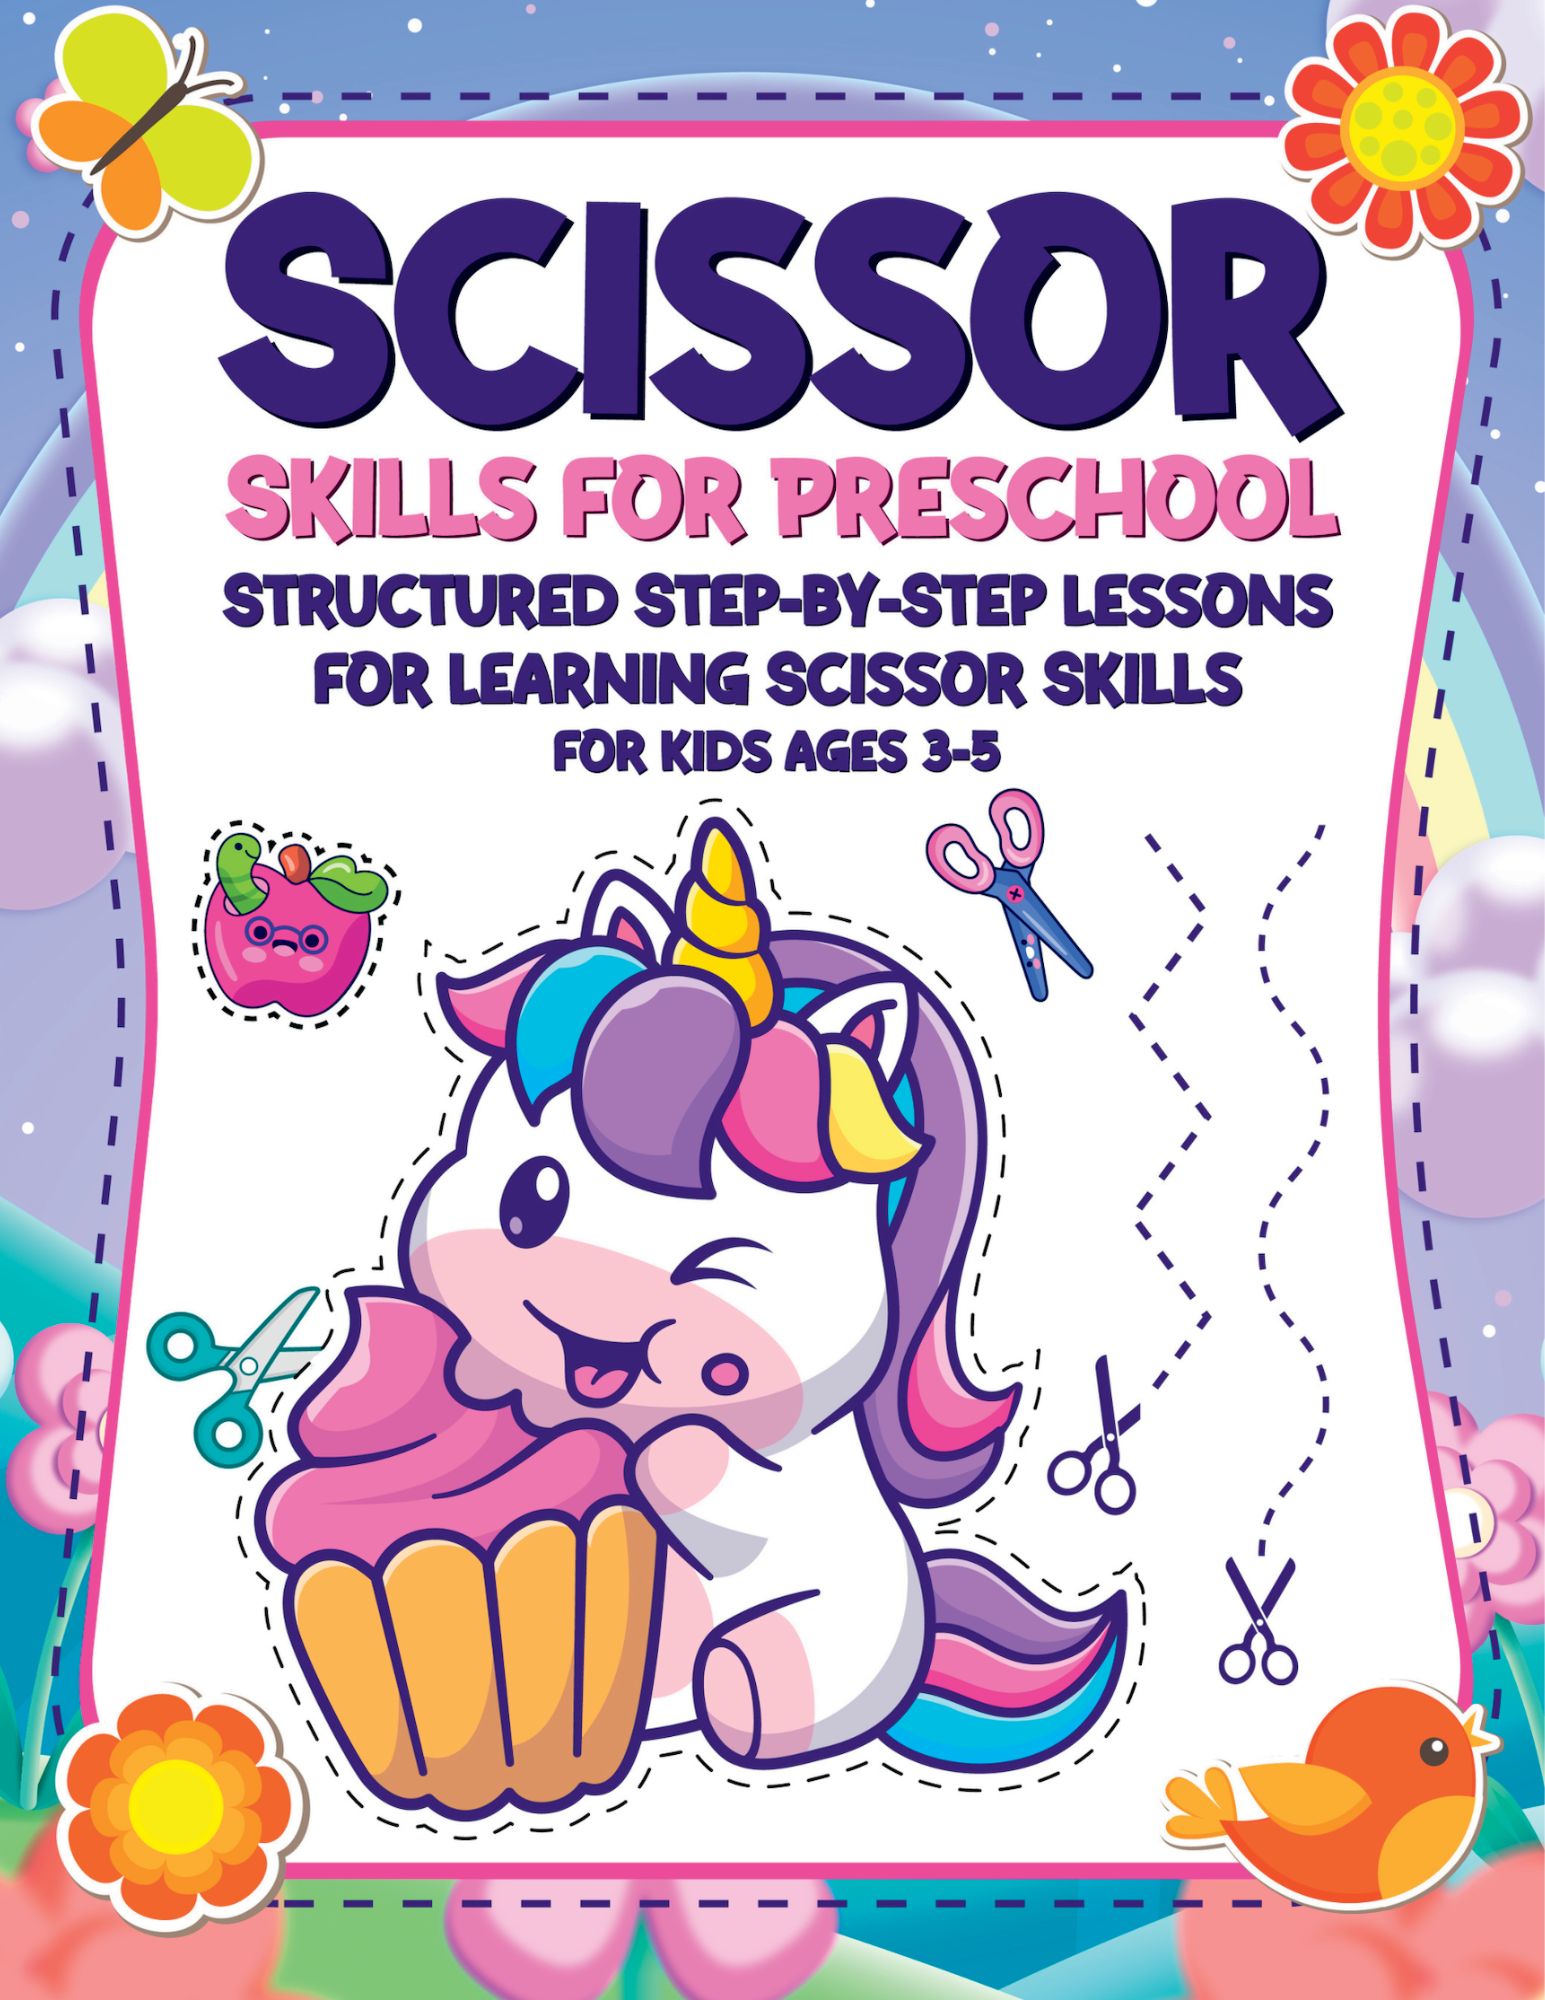
Presenting "Scissor Skills: Structured Step-By Step Lessons for Learning Scissor Skills, For Kids Ages 3-5," an expert-crafted masterpiece for budding learners. Seamlessly progressing through lessons, this book aligns with developmental scissor milestones. With precision, it transitions from basic snips to confident lines, leading to shapes and captivating images. The process is a symphony—thick to thin lines, zig-zags, and curves—all mastered gradually. Shapes become child's play as squares, circles, and triangles are conquered in various sizes. The crowning achievement: crafting images with solid and dotted outlines, reflecting newfound mastery. With 94 single-sided lessons and practice pages, learning is effortless. Aligned in a meticulously planned developmental sequence, this manual thoughtfully includes a checklist of scissor skill milestones. Thus, not only does the book serve as a practical tool, but it also offers an invaluable reference for tracking your child's growth. Join us in this journey of discovery. "Scissor Skills" brings achievement through creativity.
Click here to get sample pages!
|
|
|---|
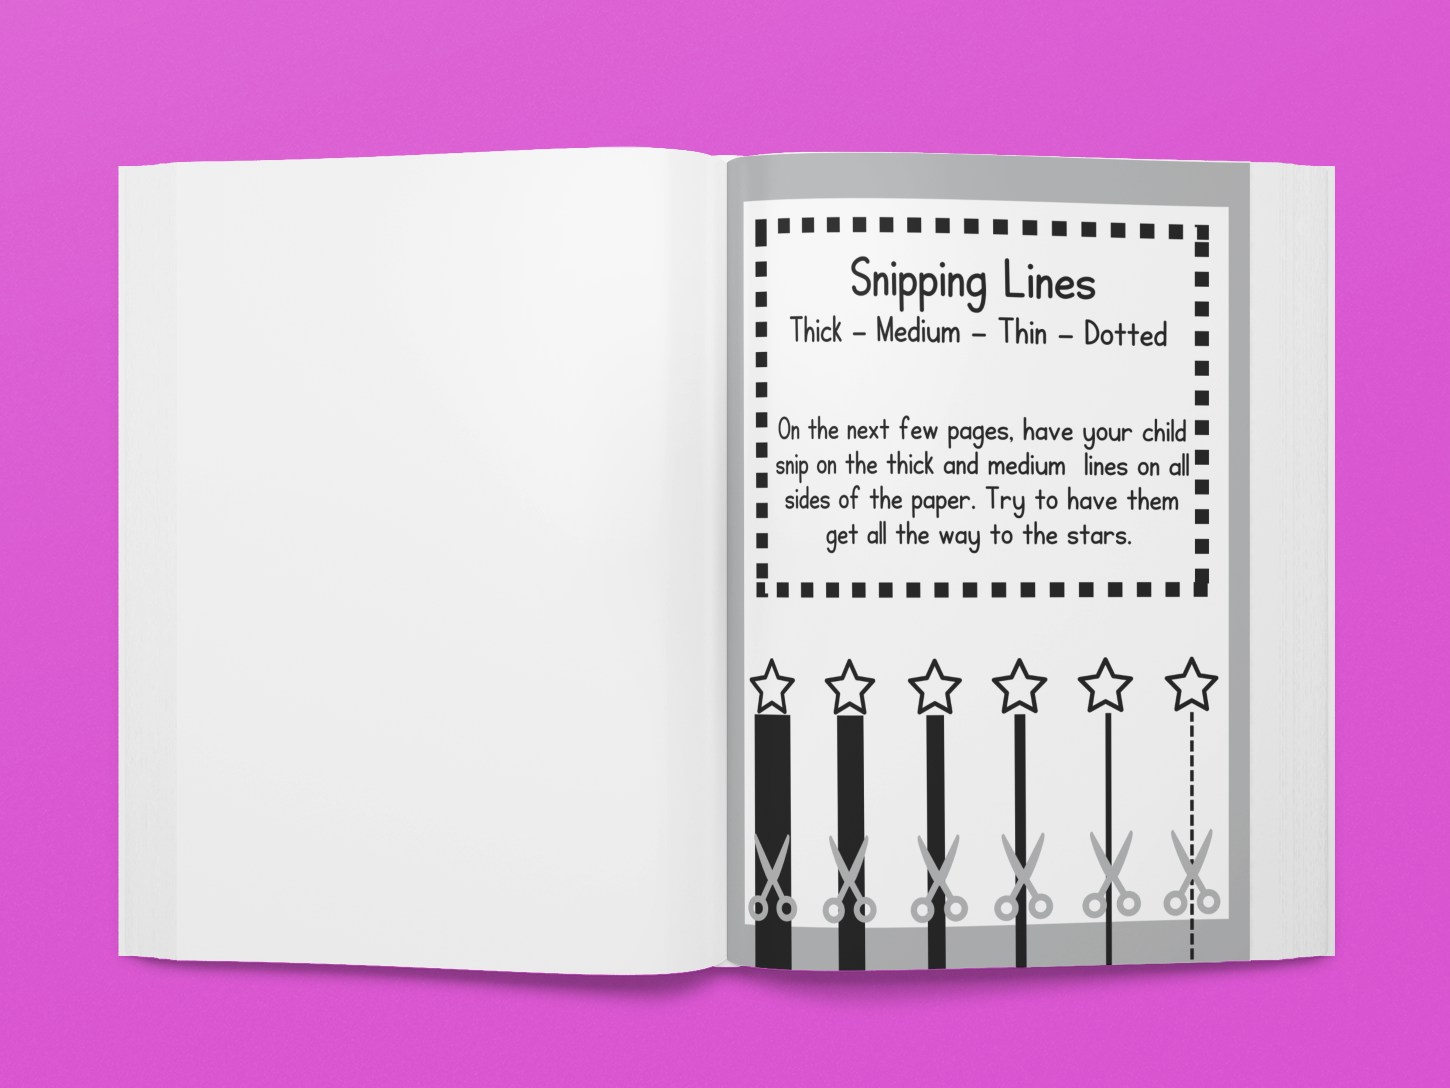 | Lesson 1 - Snipping LinesThe book has children first learning to snip on different thicknesses of lines on paper. There are 2 pages of practice for each line thickness type. Snipping means that they go up from one side of the paper using the tip of the scissors. They do not have to cut all the way across the paper yet, but try to see if they can get to the star. The further they can go, the more ready they will be to cut all the way across the paper and ready to start cutting the lines in the next section. |
|
|
|
|
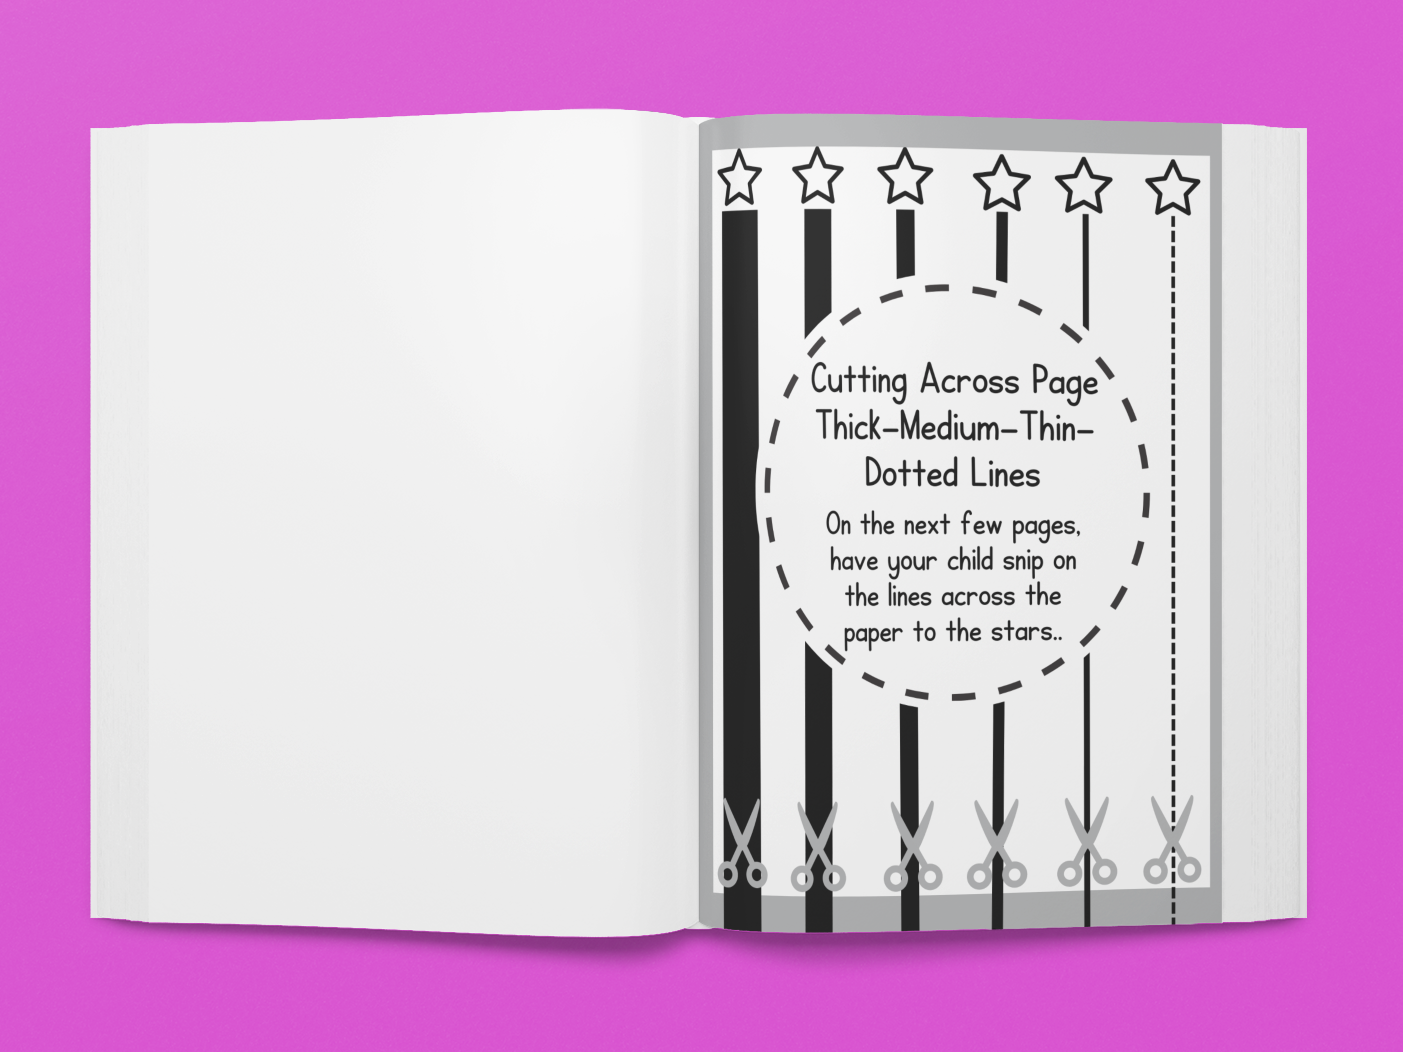 | Lesson 2 - Cutting Lines Across PagesThe next step is for children to cut all the way across the paper on straight lines of different thicknesses. There are 2 pages of practice for each line thickness type. Once they master cutting all of the straight lines, they will be ready to move to zig-zag lines. |
|
|
|
|
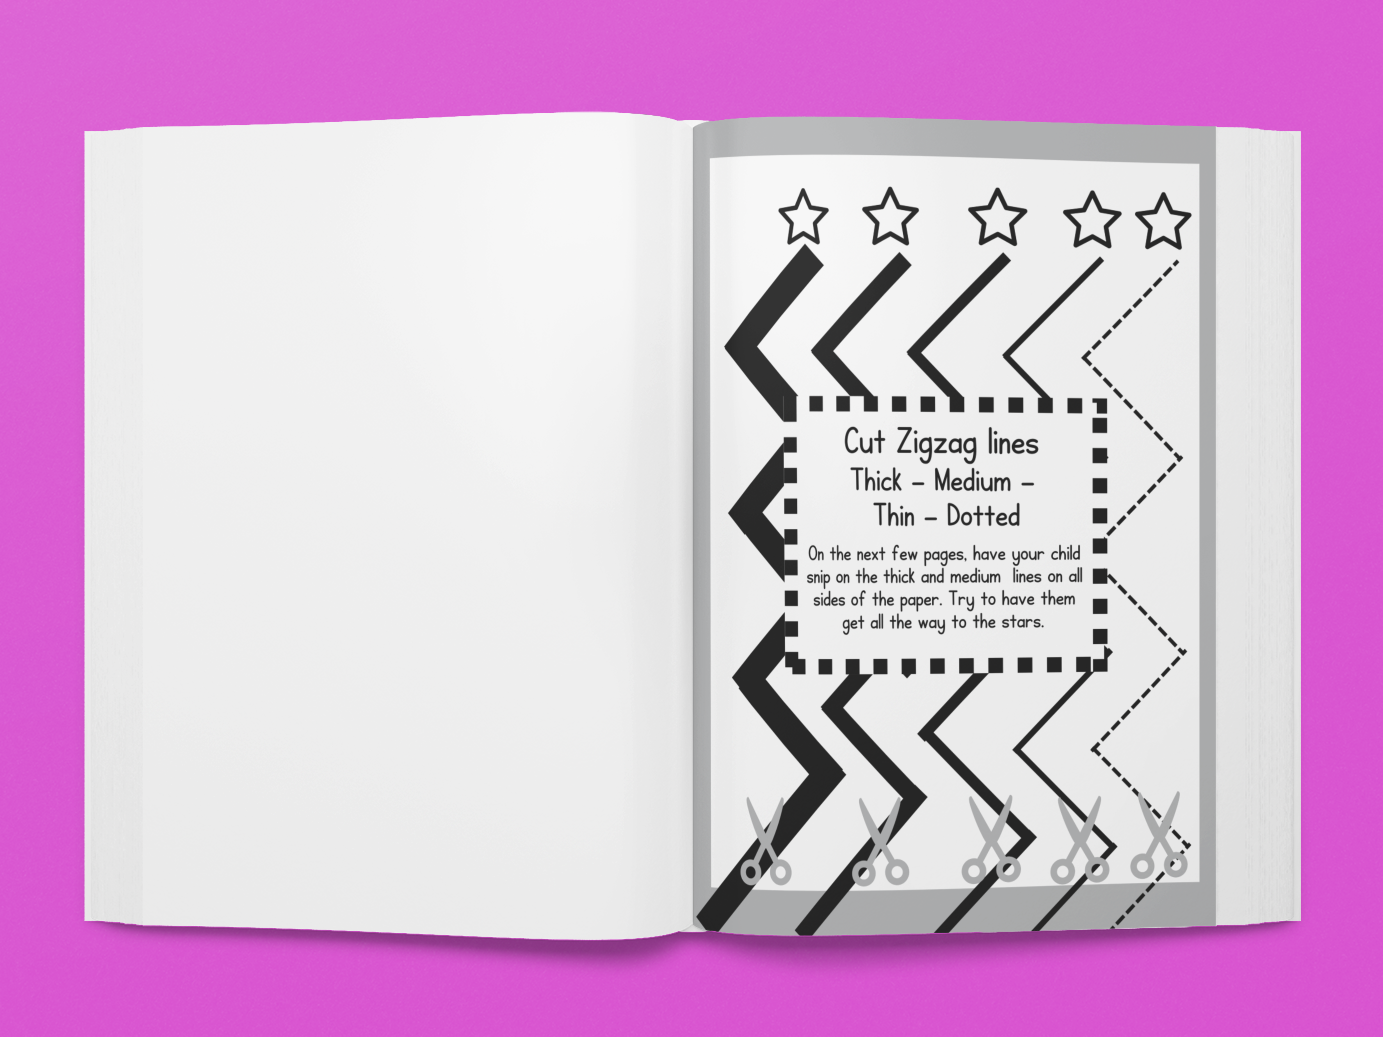 | Lesson 3 - Cutting Zig Zag Lines Across PagesThe next step is for children to cut all the way across the paper on zig-zag lines of different thicknesses. There are 2 pages of practice for each line thickness type. Once they master cutting all of the straight lines, they will be ready to move to curved lines. |
|
|
|
|
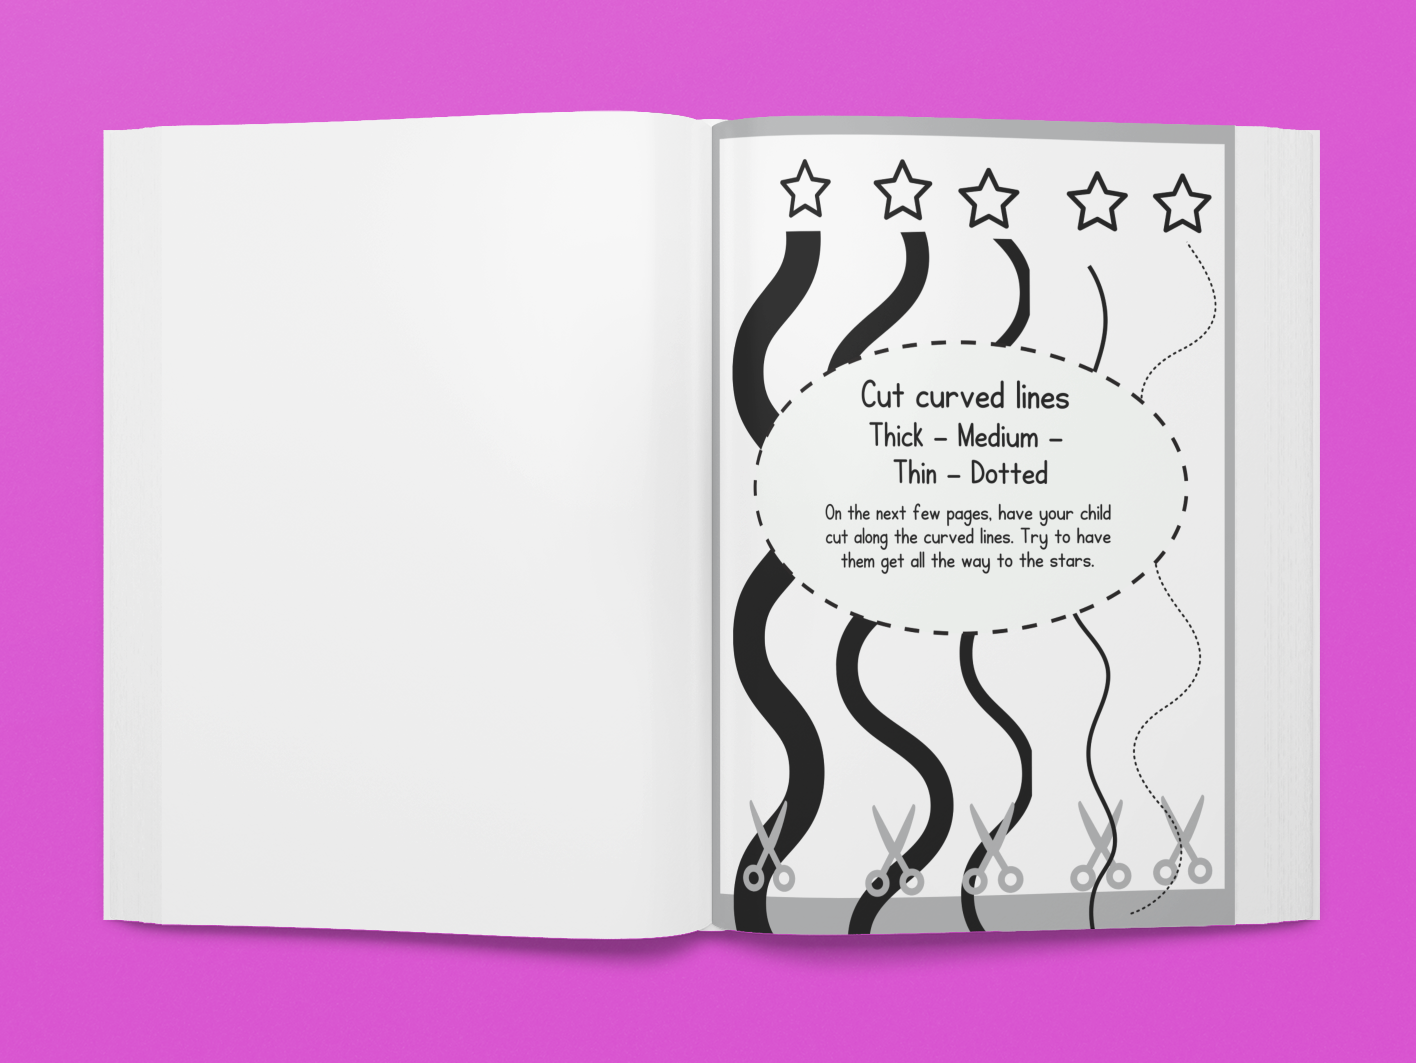 | Lesson 4 - Cutting Curved Lines Across PagesThe next step is for children to cut all the way across the paper on curved lines of different thicknesses. There are 2 pages of practice for each line thickness type. Once they master cutting all of the straight lines, they will be ready to move to shapes. |
|
|
|
|
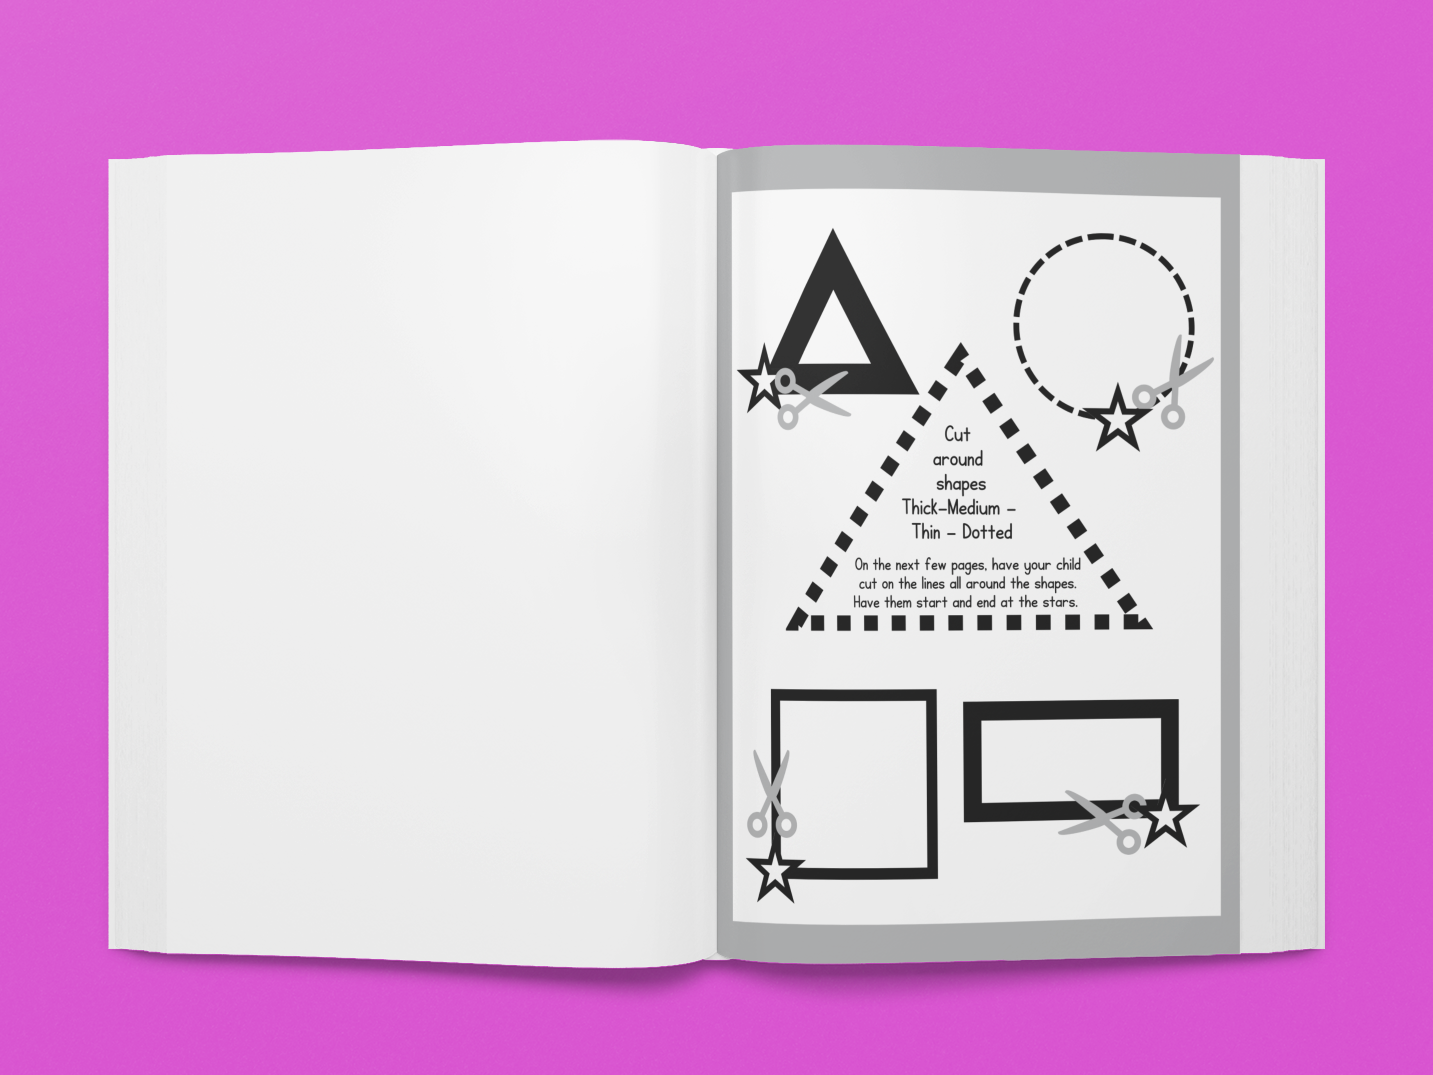 | Lesson 5 - Cutting Around ShapesThe next step is for children to cut all the way around shapes of different thicknesses. There are multiple pages of practice for each shape with different thickness types. Once they master cutting around shapes, they are ready to move on to pictures. |
|
|
|
|
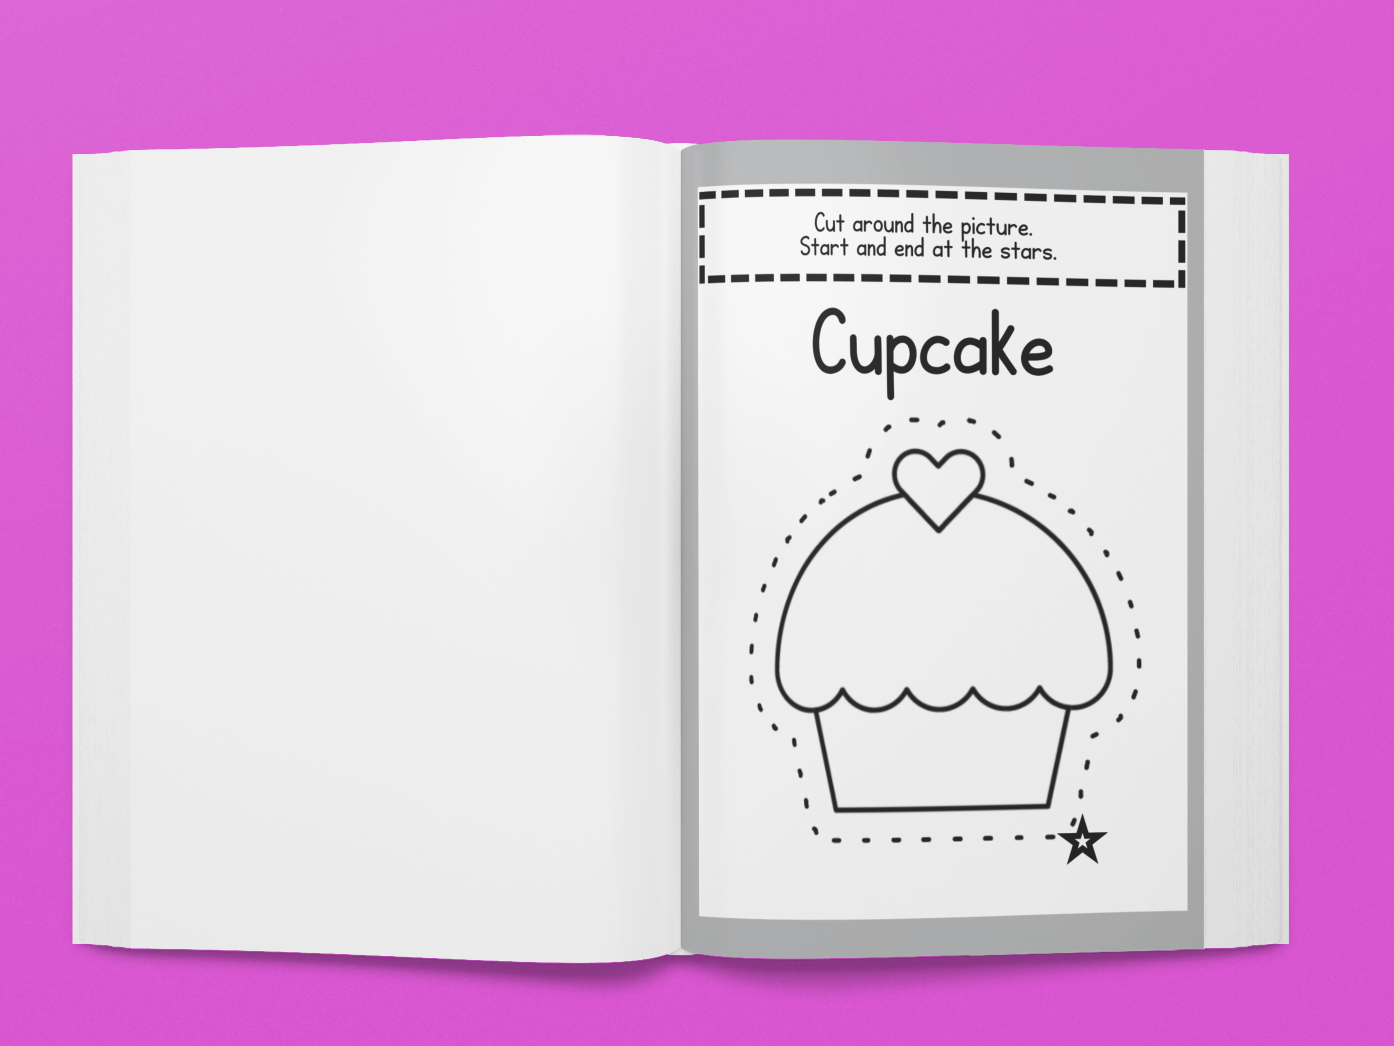 | Lesson 6 - Cutting Around PicturesThe final step is for children to put all their new skills together to be able to cut around various pictures which use all different line types. There are 2 practice pages for each picture - one with a solid line and one with a dotted line. Have children cut around the pictures with the solid line first and then try the dotted line. This step puts all the previous skills together! |
|
|
Click on the cover to buy the book!
